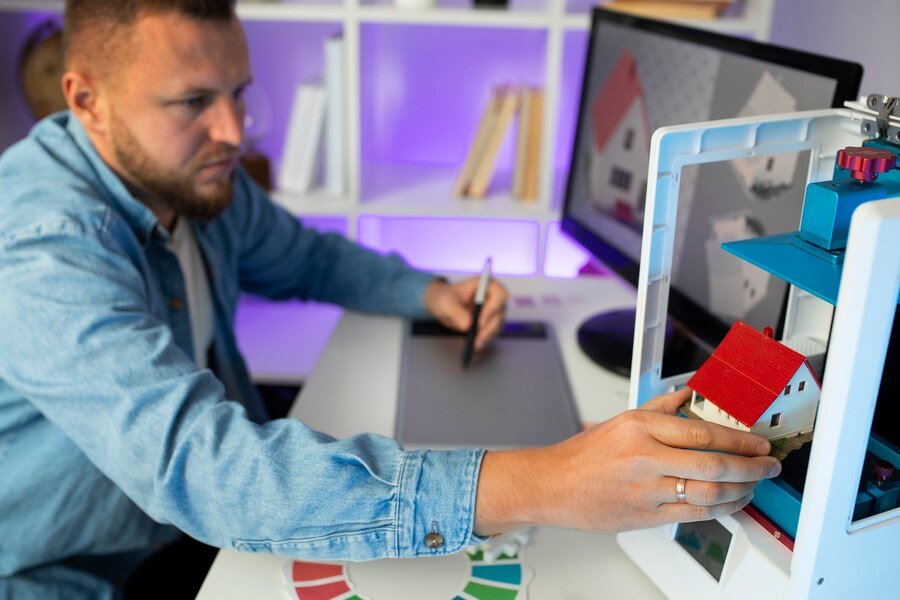
Editing STL files is a vital step in preparing 3D models for printing, prototyping, and visualization. GRemap is a versatile tool designed to help users transform and refine STL files, whether by modifying shapes, optimizing mesh quality, or adjusting the model’s scale. In this article, we will walk through a detailed process of editing STL files using GRemap, with an emphasis on usability, tips, and techniques to make your model printing-ready.
What is STL and Why Does It Need Editing?
STL, which stands for “stereolithography,” is a widely-used format in 3D printing. While STL files are highly compatible, they are often generated with imperfections, such as uneven meshes, high polygon counts, or orientation issues that may compromise the final print quality. Editing an STL file helps address these problems, allowing for smoother printing, faster processing, and a better final product. Whether you’re a designer, engineer, or hobbyist, learning to edit STL files can make a major difference in your 3D modeling projects.
Overview of GRemap as a 3D Editing Tool
GRemap is a powerful 3D editing and transformation tool designed to modify and optimize various 3D file formats, including STL. It offers a range of features that make it a go-to for users seeking precision and efficiency in their 3D modeling projects. GRemap’s tools cover all the essentials—scaling, positioning, rotation, and mesh optimization—making it versatile for both quick edits and comprehensive modifications. With an intuitive interface, GRemap is suitable for beginners and professionals alike, streamlining the 3D editing workflow.
Importing STL Files into GRemap
The first step in editing STL files with GRemap is to import the file. Start by opening GRemap and locating the “Import” or “Open” function, typically found in the main menu. Once you’ve selected your STL file, it should load in the GRemap workspace, displaying the 3D model for review. This is an excellent time to evaluate the model’s structure, geometry, and initial position, which will guide the edits needed.
Analyzing the Model for Errors and Improvements
Once your STL file is imported, use GRemap’s visualization tools to examine the model from all angles. Look for any issues that could cause printing challenges, such as holes, overlaps, or unconnected surfaces. GRemap’s interface often provides indicators or highlight tools to make problem areas easier to spot. Analyzing the model thoroughly before beginning edits saves time and helps you pinpoint specific areas that need adjustments.
Scaling and Resizing the Model
Scaling is one of the most common edits when working with STL files. GRemap’s scaling tool allows you to resize the model to match specific dimensions. To access the scaling function, locate the scaling options in GRemap’s toolbar, where you can either manually enter dimensions or use a percentage scale. Adjusting the size ensures your model fits within the 3D printer’s build volume or meets specific project requirements.
Adjusting the Model’s Orientation
Correct orientation is essential to ensure a successful 3D print. In GRemap, you can easily rotate and position your STL model within the workspace. By selecting the rotation tool, you can manipulate the model along the X, Y, or Z axes to achieve the ideal orientation. Proper orientation not only enhances print stability but also helps reduce the need for support structures, which saves material and time.
Mesh Optimization for Improved Print Quality
Optimizing the mesh is a crucial step in STL editing. GRemap offers several tools for mesh optimization, which is especially helpful for high-resolution models with complex geometries. Here are some key optimization techniques:
- Smoothing: This tool is beneficial for organic shapes, reducing roughness along the surface and creating a more visually appealing model.
- Decimation: Reduces the polygon count by simplifying the mesh. This is useful for decreasing file size and ensuring the model processes quickly on lower-powered devices.
- Subdivision: This feature increases mesh resolution by adding more polygons. Subdivision is useful for models that require extra detail, such as figurines or intricate designs.
Repairing Common Mesh Issues
3D models can often contain errors that lead to failed prints, such as holes, non-manifold edges, or inverted normals. GRemap includes tools to detect and repair these common issues. The repair function in GRemap automates much of this process, scanning for gaps, overlaps, and other errors that need correction. For advanced users, manual repair options allow you to pinpoint and correct specific issues, ensuring a flawless model.
Customizing the Model Shape
One of the benefits of GRemap is its ability to modify the shape and structure of STL models. Using GRemap’s sculpting tools, users can adjust specific parts of the model to add or remove features. For instance, you might use the extrude tool to extend parts of the model, or use the cut tool to remove unwanted sections. These modifications allow for greater creative freedom, making it possible to personalize models or fine-tune designs to meet exact specifications.
Modifying Surface Details
GRemap also offers surface detail editing, allowing users to adjust textures or patterns on the model. This is particularly useful for creating realistic models with specific surface qualities, like adding texture to mimic fabric or metal. Surface detail editing tools provide options for both subtle adjustments and bold changes, depending on your aesthetic goals.
Exporting the Optimized STL File
After editing, the final step is exporting the STL file for printing or further use. In GRemap, the export process is simple—select “Export” from the menu and choose STL format. It’s essential to review the export settings to ensure they align with your 3D printer’s specifications, particularly if you adjusted the model’s scale or resolution. Once exported, your STL file is ready for slicing and, ultimately, printing.
Benefits of Using GRemap for STL Editing
GRemap’s combination of flexibility, precision, and ease of use makes it an ideal choice for STL editing. Here are some benefits of using GRemap:
- User-Friendly Interface: GRemap’s layout and navigation make it accessible for users of all levels.
- Advanced Mesh Tools: The mesh optimization and repair tools simplify the process of preparing STL files for printing.
- Customization Options: GRemap allows for detailed customization, including scaling, rotation, and surface detail modification.
- Efficient Workflow: With GRemap, STL editing becomes a quick process, reducing the time needed to prepare models.
Tips for Efficient Editing with GRemap
- Plan Your Edits: Before diving in, outline the specific edits you need. This will make the process more organized and efficient.
- Save Intermediate Versions: Keep multiple versions of your model as you edit. This way, you can revert to previous versions if needed.
- Use Shortcuts: Familiarize yourself with GRemap’s keyboard shortcuts to speed up common tasks, like scaling or rotation.
- Experiment with Tools: Try out different tools to explore their effects. This experimentation can help you discover useful features for future projects.
Troubleshooting Common Issues

If you encounter issues while editing in GRemap, refer to the software’s help resources. Some common problems include:
- Slow Performance: Large STL files with high polygon counts can slow down performance. Try decimating the mesh to improve speed.
- Unexpected Geometry Changes: If edits alter other parts of the model, use GRemap’s undo feature to return to a previous state.
- Export Problems: Ensure that export settings match the file’s scale and resolution requirements. Double-check these settings before finalizing the export.
Conclusion
Editing STL files with GRemap unlocks countless possibilities for customization and optimization. Whether you’re preparing a simple model for 3D printing or refining a complex design, GRemap’s tools and features enable you to achieve professional-quality results. With practice and patience, you’ll be able to streamline your STL editing workflow and bring your 3D models to life in new and exciting ways.


